Monday, September 15, 2008

NVU for beginners

NVU is an HTML editor which can be used for creating tables in blog posting. (to download it, click here)

From this posting, we will discuss steps in setting up a table, adding rows/columns and merging cells.

01) click the table icon


02) click ok


03) click and drag on the circled dot to modify the table width


04) click the circled arrow to add a row


05) view added row


06) click the circled arrow to add a column


07) select these two cells to merge them


08) right-click and choose join selected cells


09) view the joint cells

We wish you the best of luck.

Read more...

Saturday, September 13, 2008

Placing PDF files online


It is about time we put our resource (in the form of PDF files) online. The step-by-step guide is given below.

01) go to google homepage


02) click sign in


03) type username/password (i.e. our gmail or blogger username. Otherwise, sign up for a new google account)


04) click my account


05) click more


06) view menu - communicate, show and share


07) click sites


08) retype our password


09) welcome to google sites


10) click create site


11) type preferred site name and URL


12) click create site


13) welcome to our google site


14) click attachment


15) click browse


16) click the pdf file


17) click the pdf file link


18) copy the URL


19) click recent pages - my account


20) click blogger


21) click layout


22) click add a gadget


23) click link list


24) clear new site url box


25) paste the URL


26) type title and new site name


27) click save


28) click view blog


29) click syllabus


30) view pdf file

Good luck!

Read more...

Saturday, August 30, 2008

Allowing comments


Our blog visitor might feel like giving comments in a posting.
We can refer to the Blogger Help Center for a brief explanation.

There is also a list of question related to the comments issues.


Read more...

Sending and accepting invitation


We might want to invite people to view our blog.
The explanation is given below:

In the dashboard, choose Setting.


Then choose Permission.


In Blog Reader, select Only people I choose.


Then key in your visitor's email and choose invite.


Now the visitor is receiving an invitation email.


Let say he is checking his email.


He will have to click on the link below.


Next, he has to key in his Blogger password.


Then he will have to click View Blog.


He is now viewing your blog.


Good luck.


Read more...

Tuesday, August 19, 2008

Viewing sorted blog content


Our blog visitor might want to browse posting on certain weeks.
Setting up a weekly menu on the sidebar will facilitate such an idea.
A step-by-step guide is given below.

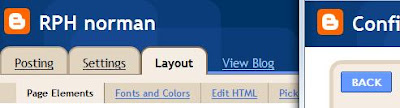
First, in the dashboard, choose edit post.


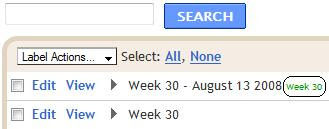
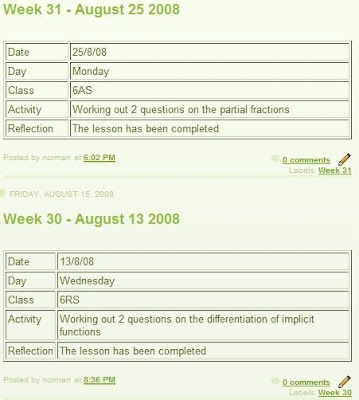
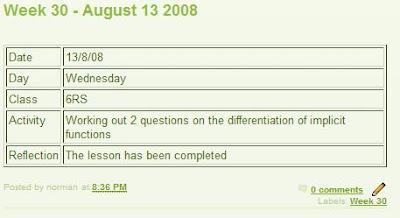
Notice that the second posting has been labelled "Week 30" (in green colour).
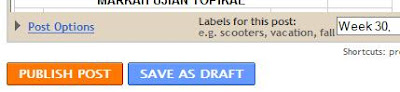
Now we will edit the first posting by adding the same label.


Then click publish.


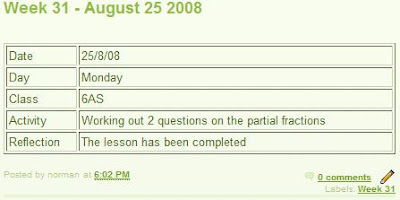
Next, we will create a new posting dated August 25 2008 and give it a label "Week 31".
Choose create a new post.


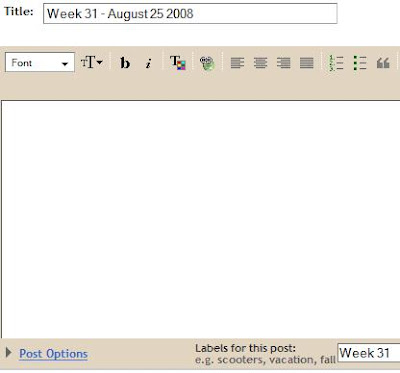
We are now giving a title and a label "Week 31" for this posting.


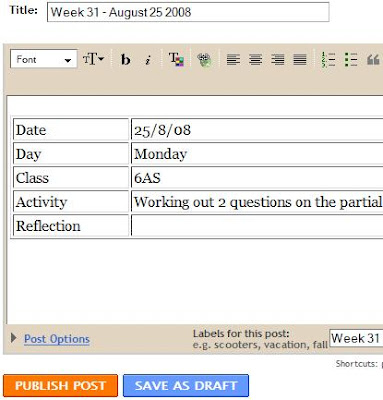
As for the posting body, we can either type anything we want or we can also recycle the previous posting.
Then choose publish.


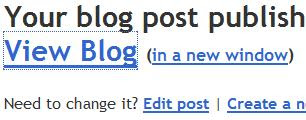
Next, click view blog.


Notice that our visitor is now viewing the whole blog. We will then help him viewing a specific posting (sorted by week).


On the top right corner, choose customise.


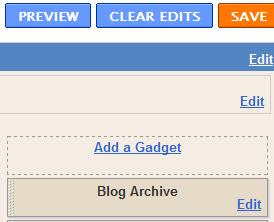
Then click add a gadget.


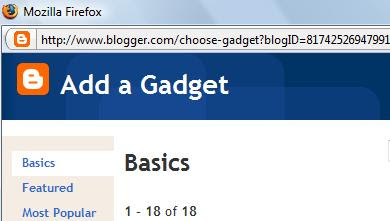
A new window (Add a gadget) will be opened.


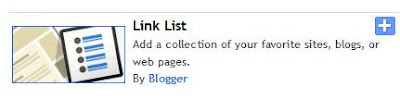
Choose link list.


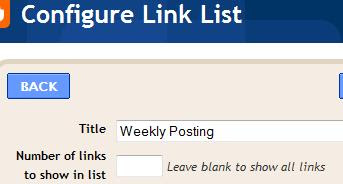
We will give a title for the menu.


We are going back to the main Blogger window.
Choose view blog.


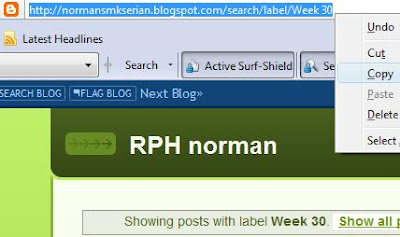
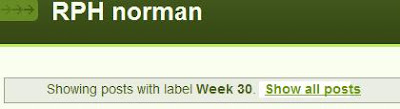
Click label "Week 30"


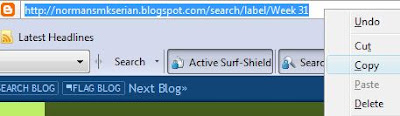
Copy URL for Week 30.


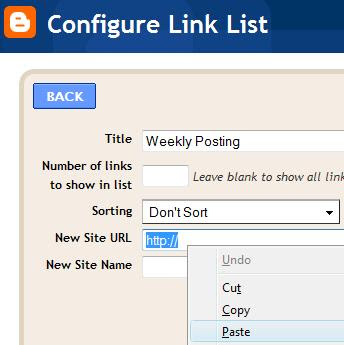
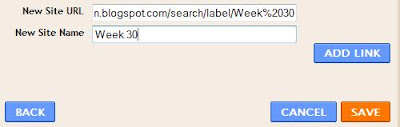
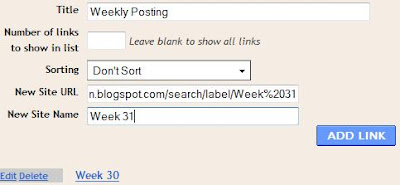
Paste the URl in the new site url box.


Give the new site a name "Week 30" and choose add link.


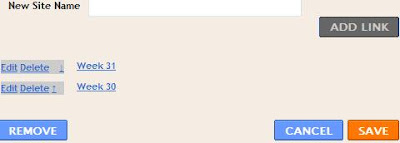
Repeat the same procedure for Week 31.
(Click show all post, ... and click save)


Choose view blog.
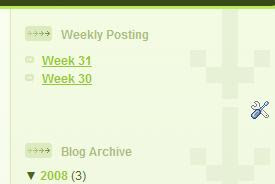
The weekly menu now appears on the sidebar.


If the visitor click on Week 30 in the Weekly Posting, all posting labelled Week 30 will appear.
The same thing goes should he choose Week 31.

We wish you all the best.


Read more...