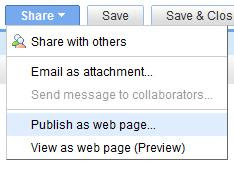
01 Click on the uploaded file.
02 Click on publish as webpage.
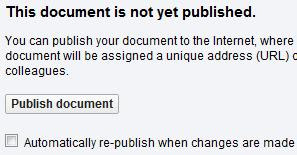
03 Click on publish document.
04 Click on the document's link.
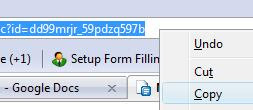
05 Copy the document's URL.
06 Paste the link in the blog.
07 Test the link. (To view the actual result of this procedure, click on this link)
Good luck!
Read more...
Saturday, February 14, 2009
Friday, January 9, 2009
Recycling our previous posting
Our next posting might be identical to the previous one. Instead of creating a new posting from scratch, we will reuse the content of the latest posting.
A simple explanation is given below.
In the dashboard, choose edit post.
In the posting menu, click edit.
In the edit post menu, choose edit html.
In the edit html menu, copy the code. If we want to recycle only a certain part, select the relevant area.
Next, choose create.
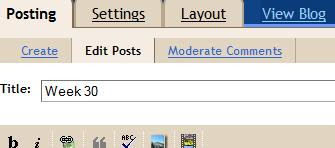
Click edit html and paste the code.
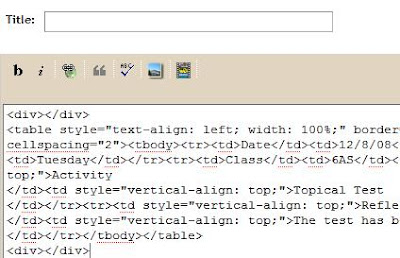
Next, click compose.
Then we can start editing the new posting and writing the posting title.
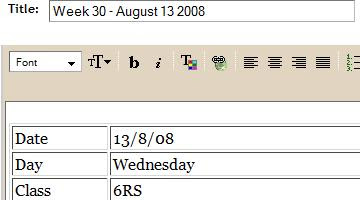
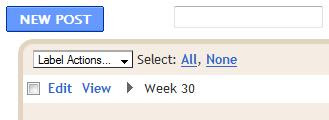
Let say we create a label "Week 30" for this posting.
(Don't worry, this function will be relevant in our next round of discussion)
Next, choose publish.
Finally, click view blog.
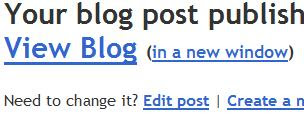
Now we can view result of recycling the previous posting.
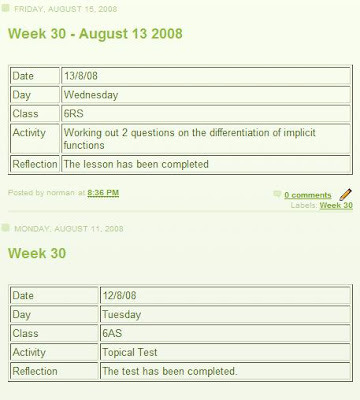
We wish you the best of luck.
Read more...
Saturday, December 20, 2008
Using categories to make groups of contact in Yahoomail
We might want to send email to a group of people ("neighbours", "family"). To view the step-by-step guide, please click on this link.
Read more...
Read more...
Wednesday, December 3, 2008
How to change your Yahoo email password
We might want to change our password once in a while, as a precaution measure.
First, sign in to Yahoo! email by clicking on this link.
(To view the Bahasa Malaysia version of this discussion, click on this link).
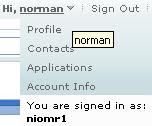
Second, click on My account or Account info tab.
Third, click on Change password tab.
Fourth, type our current password.
Next, type our new password.
Then, retype our new password.
Lastly, click on Save tab.
We wish you the best of luck.
Note:
This discussion is based on the website goodinfohome.com
Read more...
Monday, September 15, 2008
NVU for beginners
NVU is an HTML editor which can be used for creating tables in blog posting. (to download it, click here)
From this posting, we will discuss steps in setting up a table, adding rows/columns and merging cells.
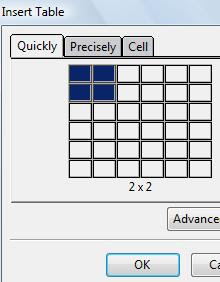
01) click the table icon
02) click ok
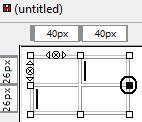
03) click and drag on the circled dot to modify the table width
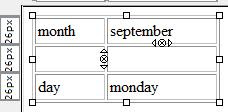
04) click the circled arrow to add a row
05) view added row
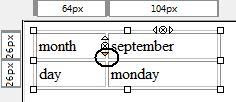
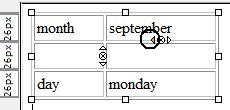
06) click the circled arrow to add a column
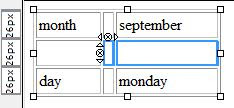
07) select these two cells to merge them
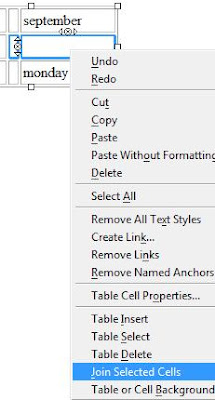
08) right-click and choose join selected cells
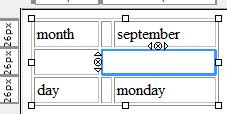
09) view the joint cells
We wish you the best of luck.
Read more...
Saturday, September 13, 2008
Placing PDF files online
It is about time we put our resource (in the form of PDF files) online. The step-by-step guide is given below.
01) go to google homepage
02) click sign in
03) type username/password (i.e. our gmail or blogger username. Otherwise, sign up for a new google account)
04) click my account
05) click more
06) view menu - communicate, show and share
07) click sites
08) retype our password
09) welcome to google sites
10) click create site
11) type preferred site name and URL
12) click create site
13) welcome to our google site
14) click attachment
15) click browse
16) click the pdf file
17) click the pdf file link
18) copy the URL
19) click recent pages - my account
20) click blogger
21) click layout
22) click add a gadget
23) click link list
24) clear new site url box
25) paste the URL
26) type title and new site name
27) click save
28) click view blog
29) click syllabus
30) view pdf file
Good luck!
Read more...
Subscribe to:
Posts (Atom)