Saturday, August 30, 2008
Allowing comments
Our blog visitor might feel like giving comments in a posting.
We can refer to the Blogger Help Center for a brief explanation.
There is also a list of question related to the comments issues.
Read more...
Sending and accepting invitation
We might want to invite people to view our blog.
The explanation is given below:
In the dashboard, choose Setting.

Then choose Permission.

In Blog Reader, select Only people I choose.

Then key in your visitor's email and choose invite.

Now the visitor is receiving an invitation email.

Let say he is checking his email.

He will have to click on the link below.

Next, he has to key in his Blogger password.

Then he will have to click View Blog.

He is now viewing your blog.

Good luck.
Read more...
Tuesday, August 19, 2008
Viewing sorted blog content
Our blog visitor might want to browse posting on certain weeks.
Setting up a weekly menu on the sidebar will facilitate such an idea.
A step-by-step guide is given below.
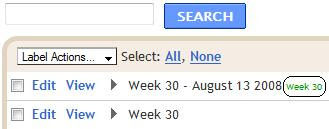
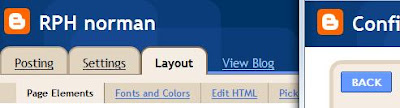
First, in the dashboard, choose edit post.
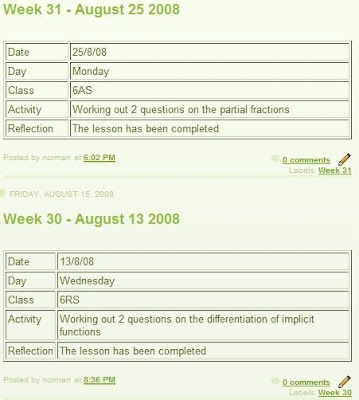
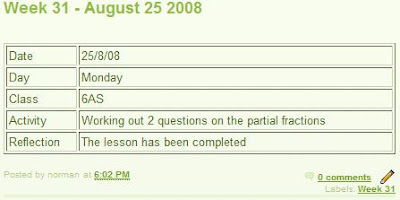
Notice that the second posting has been labelled "Week 30" (in green colour).
Now we will edit the first posting by adding the same label.
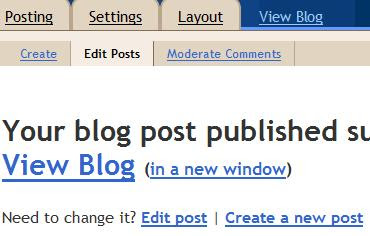
Then click publish.
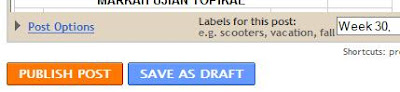
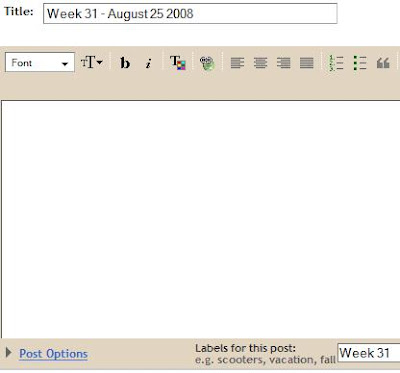
Next, we will create a new posting dated August 25 2008 and give it a label "Week 31".
Choose create a new post.
We are now giving a title and a label "Week 31" for this posting.
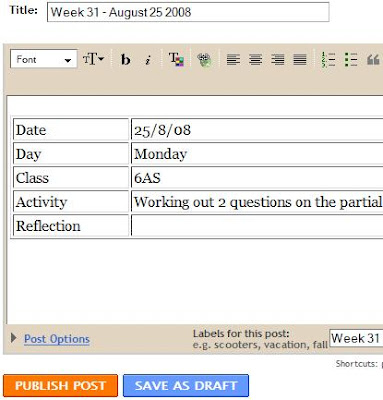
As for the posting body, we can either type anything we want or we can also recycle the previous posting.
Then choose publish.
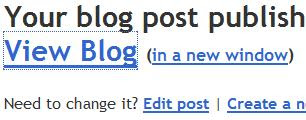
Next, click view blog.
Notice that our visitor is now viewing the whole blog. We will then help him viewing a specific posting (sorted by week).
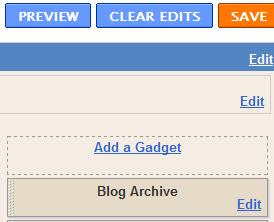
On the top right corner, choose customise.

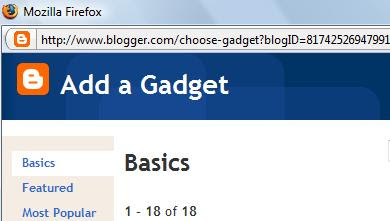
Then click add a gadget.
A new window (Add a gadget) will be opened.
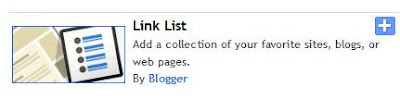
Choose link list.
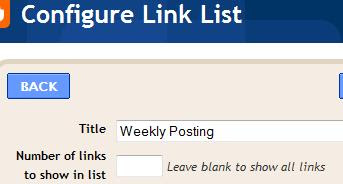
We will give a title for the menu.
We are going back to the main Blogger window.
Choose view blog.
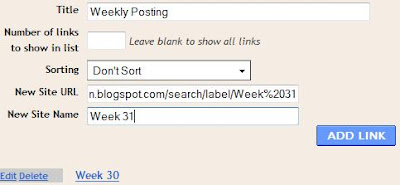
Click label "Week 30"

Copy URL for Week 30.
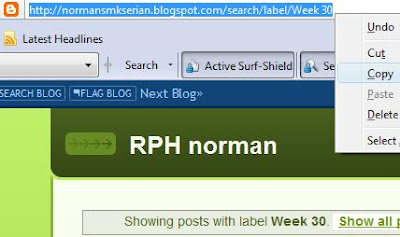
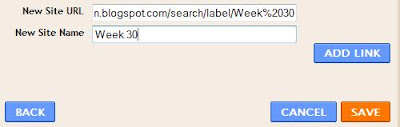
Paste the URl in the new site url box.

Give the new site a name "Week 30" and choose add link.
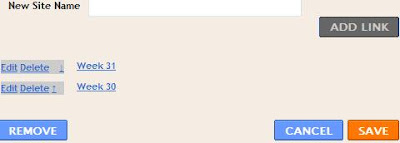
Repeat the same procedure for Week 31.
(Click show all post, ... and click save)

Choose view blog.
The weekly menu now appears on the sidebar.
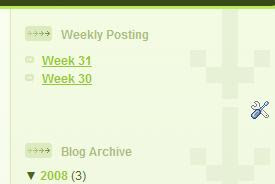
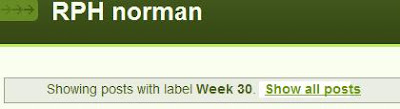
If the visitor click on Week 30 in the Weekly Posting, all posting labelled Week 30 will appear.
The same thing goes should he choose Week 31.
We wish you all the best.
Read more...
Wednesday, August 13, 2008
Embedding Excel file in posting
We might want to embed topical test marks in blog posting.
Here is the step-by-step guide:
First, sign in your Google Accounts.

Next, choose My Account.

In My Product dan Try Something New, click more.

In Communicate, show & share, choose Docs.

Welcome to Google Docs; key-in your Blogger password.

This is the Google Docs main page.

Click upload.

We will see Upload a File page.

Choose Browse and get the excel file that contain the topical test marks in the desktop, my document or any other place.

Choose upload file.

The excel file will appear.

Choose publish.

Click publish now.

Choose more publishing option.

More published formats page will be opened.

For file format, choose HTML to embed in a webpage.

For what sheet?, choose the relevant sheet.

For what cells?, choose the relevant cells.

Then click generate URL.
 Copy the HTML code.
Paste the code in the HTML part of your blog posting.

This is the result.
 Good luck.
Read more...
Subscribe to:
Posts (Atom)